Sharing Your Photo Page
- Before You Share: Setting Up Your First Page
- Creating Your Photo Page
- Testing the Experience
- Customizing Your Page
- Sharing Options Explained
- Using the QR Code
- Using the Direct URL
- Making the Most of Your Page
- Pre-Event Tips
- During the Event
- After the Event
- Pro Tips and Recommendations
- Common Questions and Solutions
Capturing and sharing photos from your special event should be simple and fun for everyone involved.
By the end of this guide, you'll have everything you need to start collecting precious memories from your event, whether it's a wedding, family reunion, or any other special occasion. Let's begin with the basics of setting up your page before we dive into the sharing options.
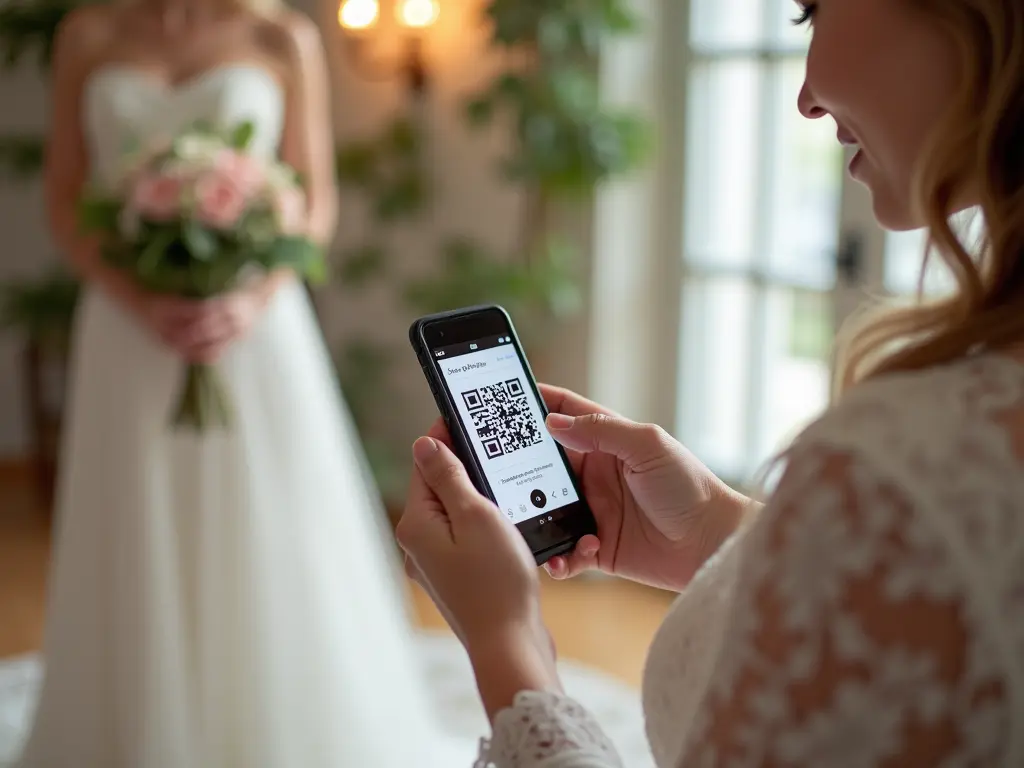
Quick and easy: Just scan the QR code with your phone to access and share photos
Before You Share: Setting Up Your First Page
1. Creating Your Photo Page
After registration, it is best to create your first photo page by accessing the dashboard. Here's how to create your first page:
- On the Dashboard page click the "Create New Page" button
- Enter the Title, Description for your page and set your Event Date as well
- Click "Create Page"
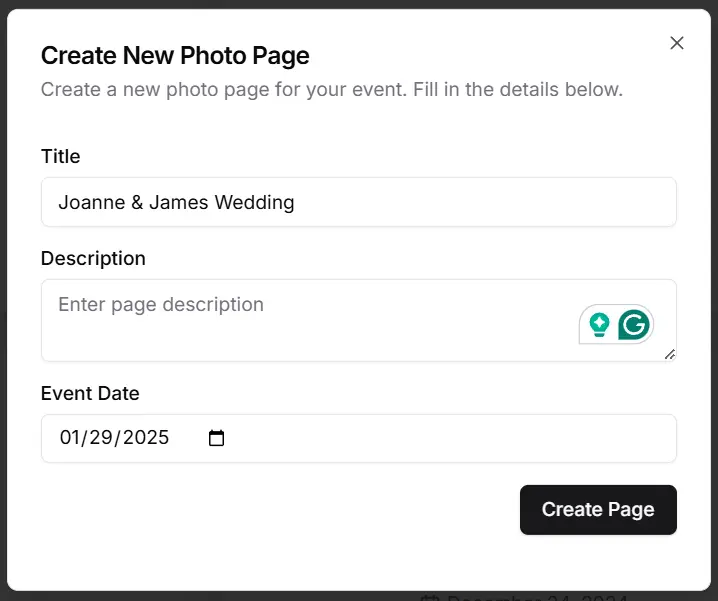
Create New Photo Page: provide the name, description and date of the event
2. Testing the Experience
Before sharing with guests, it's crucial to test the experience yourself.
After creating your photo page, the first thing you will see is the QR code of the page. Scan the QR code on your phone and test-drive the upload functionality.
Do not worry about the photos right now, you can always delete those in the management area. This is going to help you to understand how the upload works. If you want to know more then check out the guest upload tutorial.
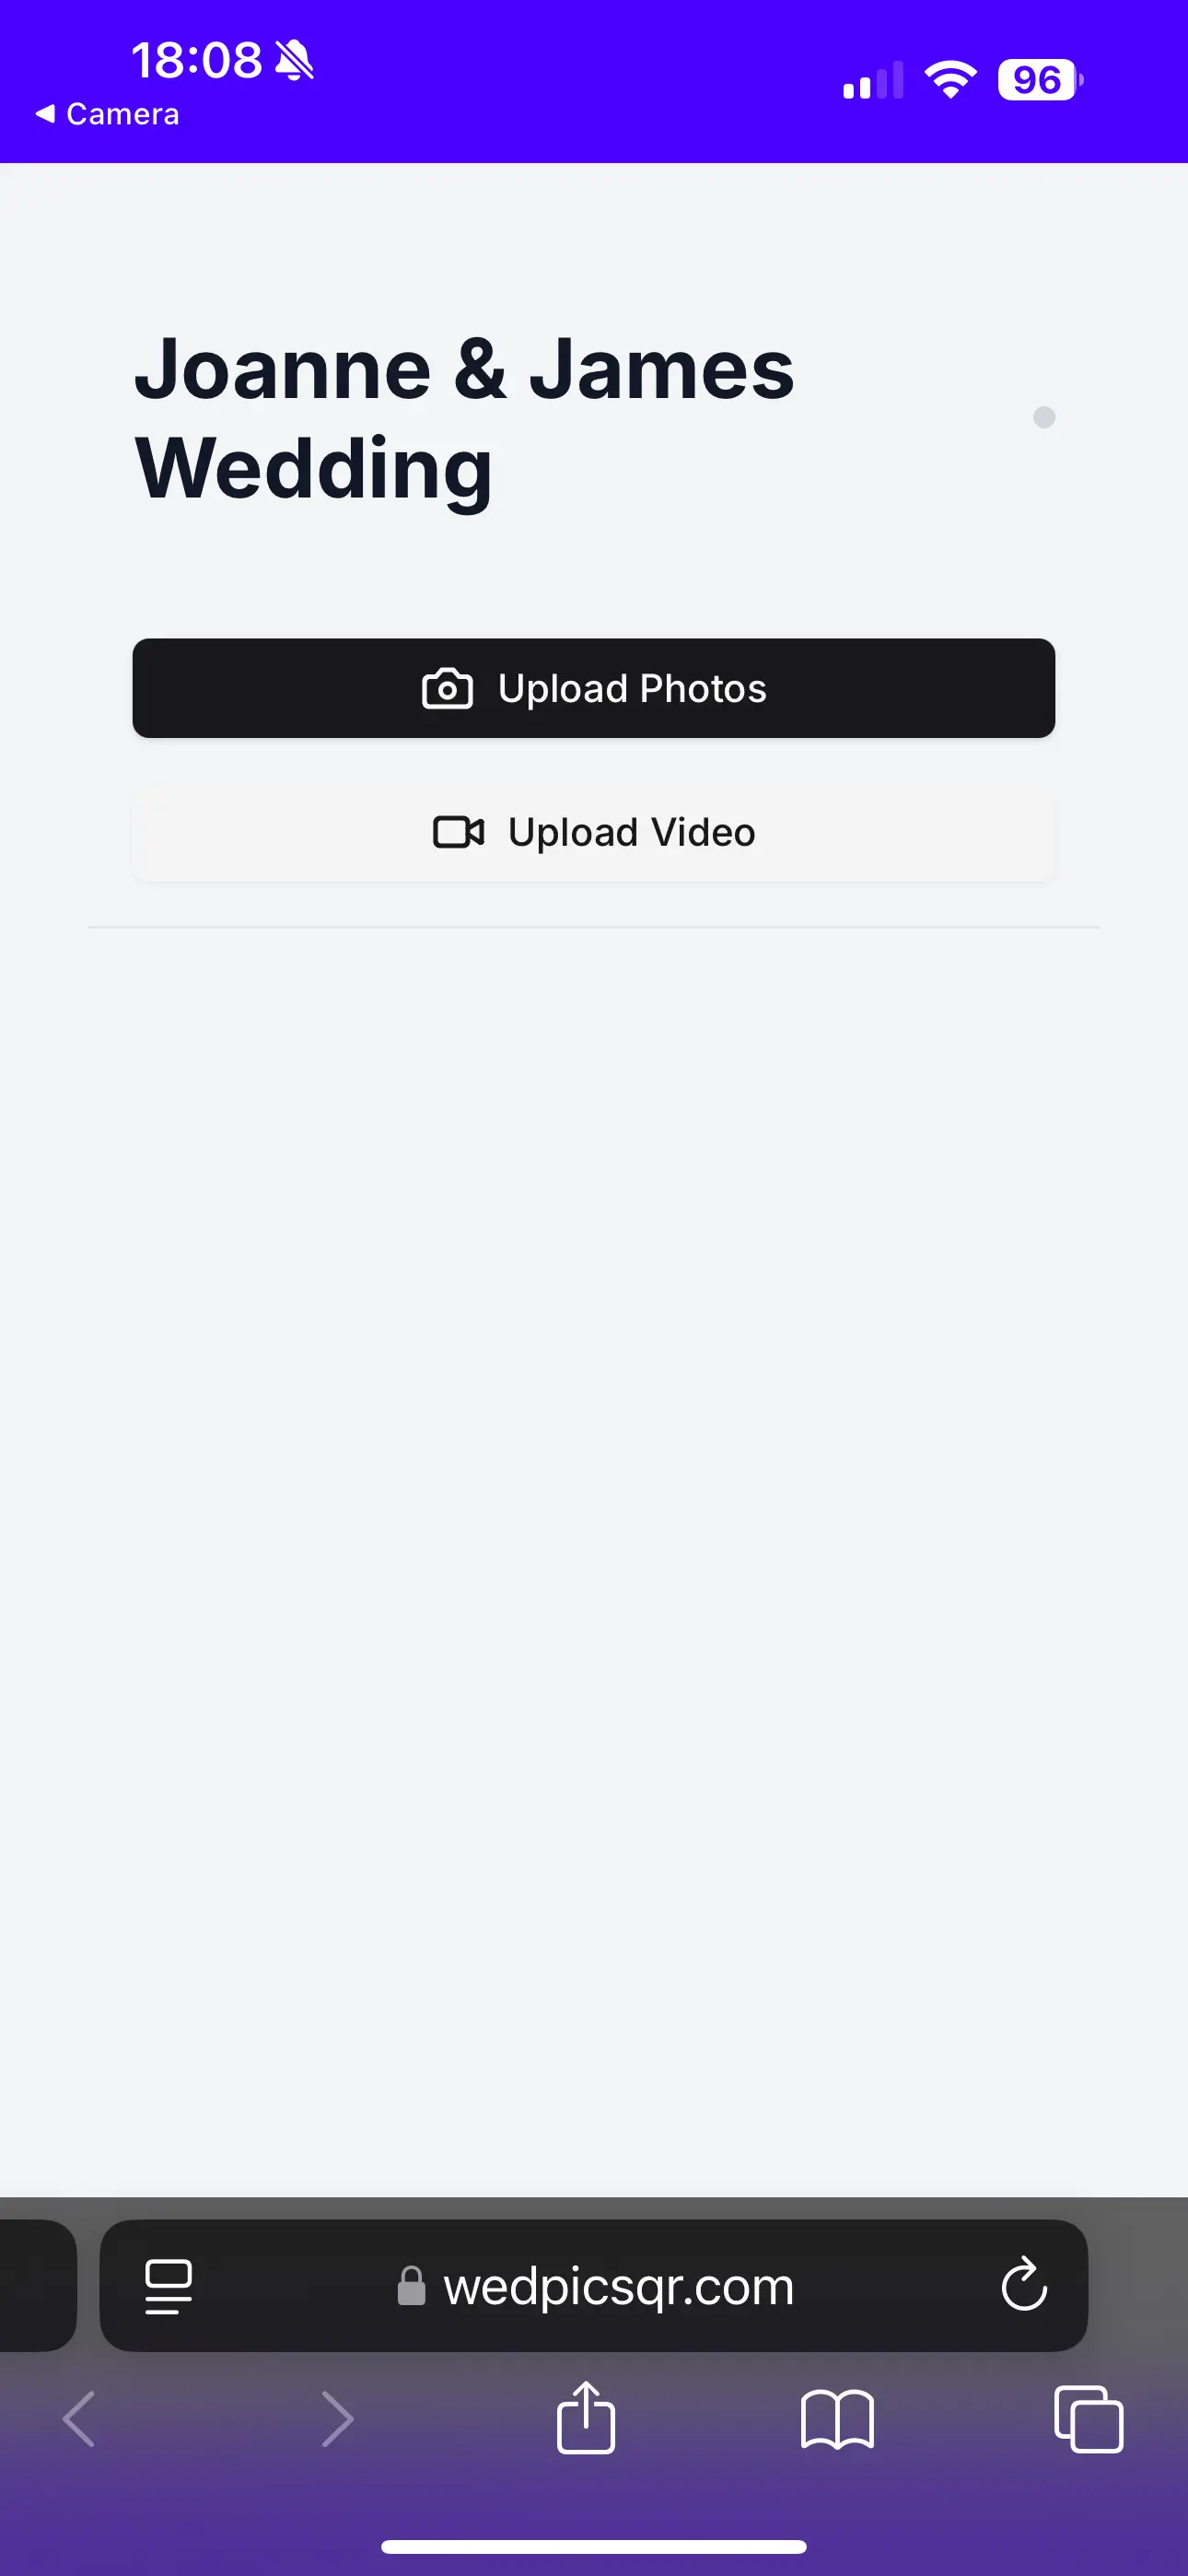
Your brand new photo album after creation. Try the uplod experience by uploading the first photo!
Hit the upload button and select your first image to upload. This can take a while depending on the image size and on the quality of your network connection.
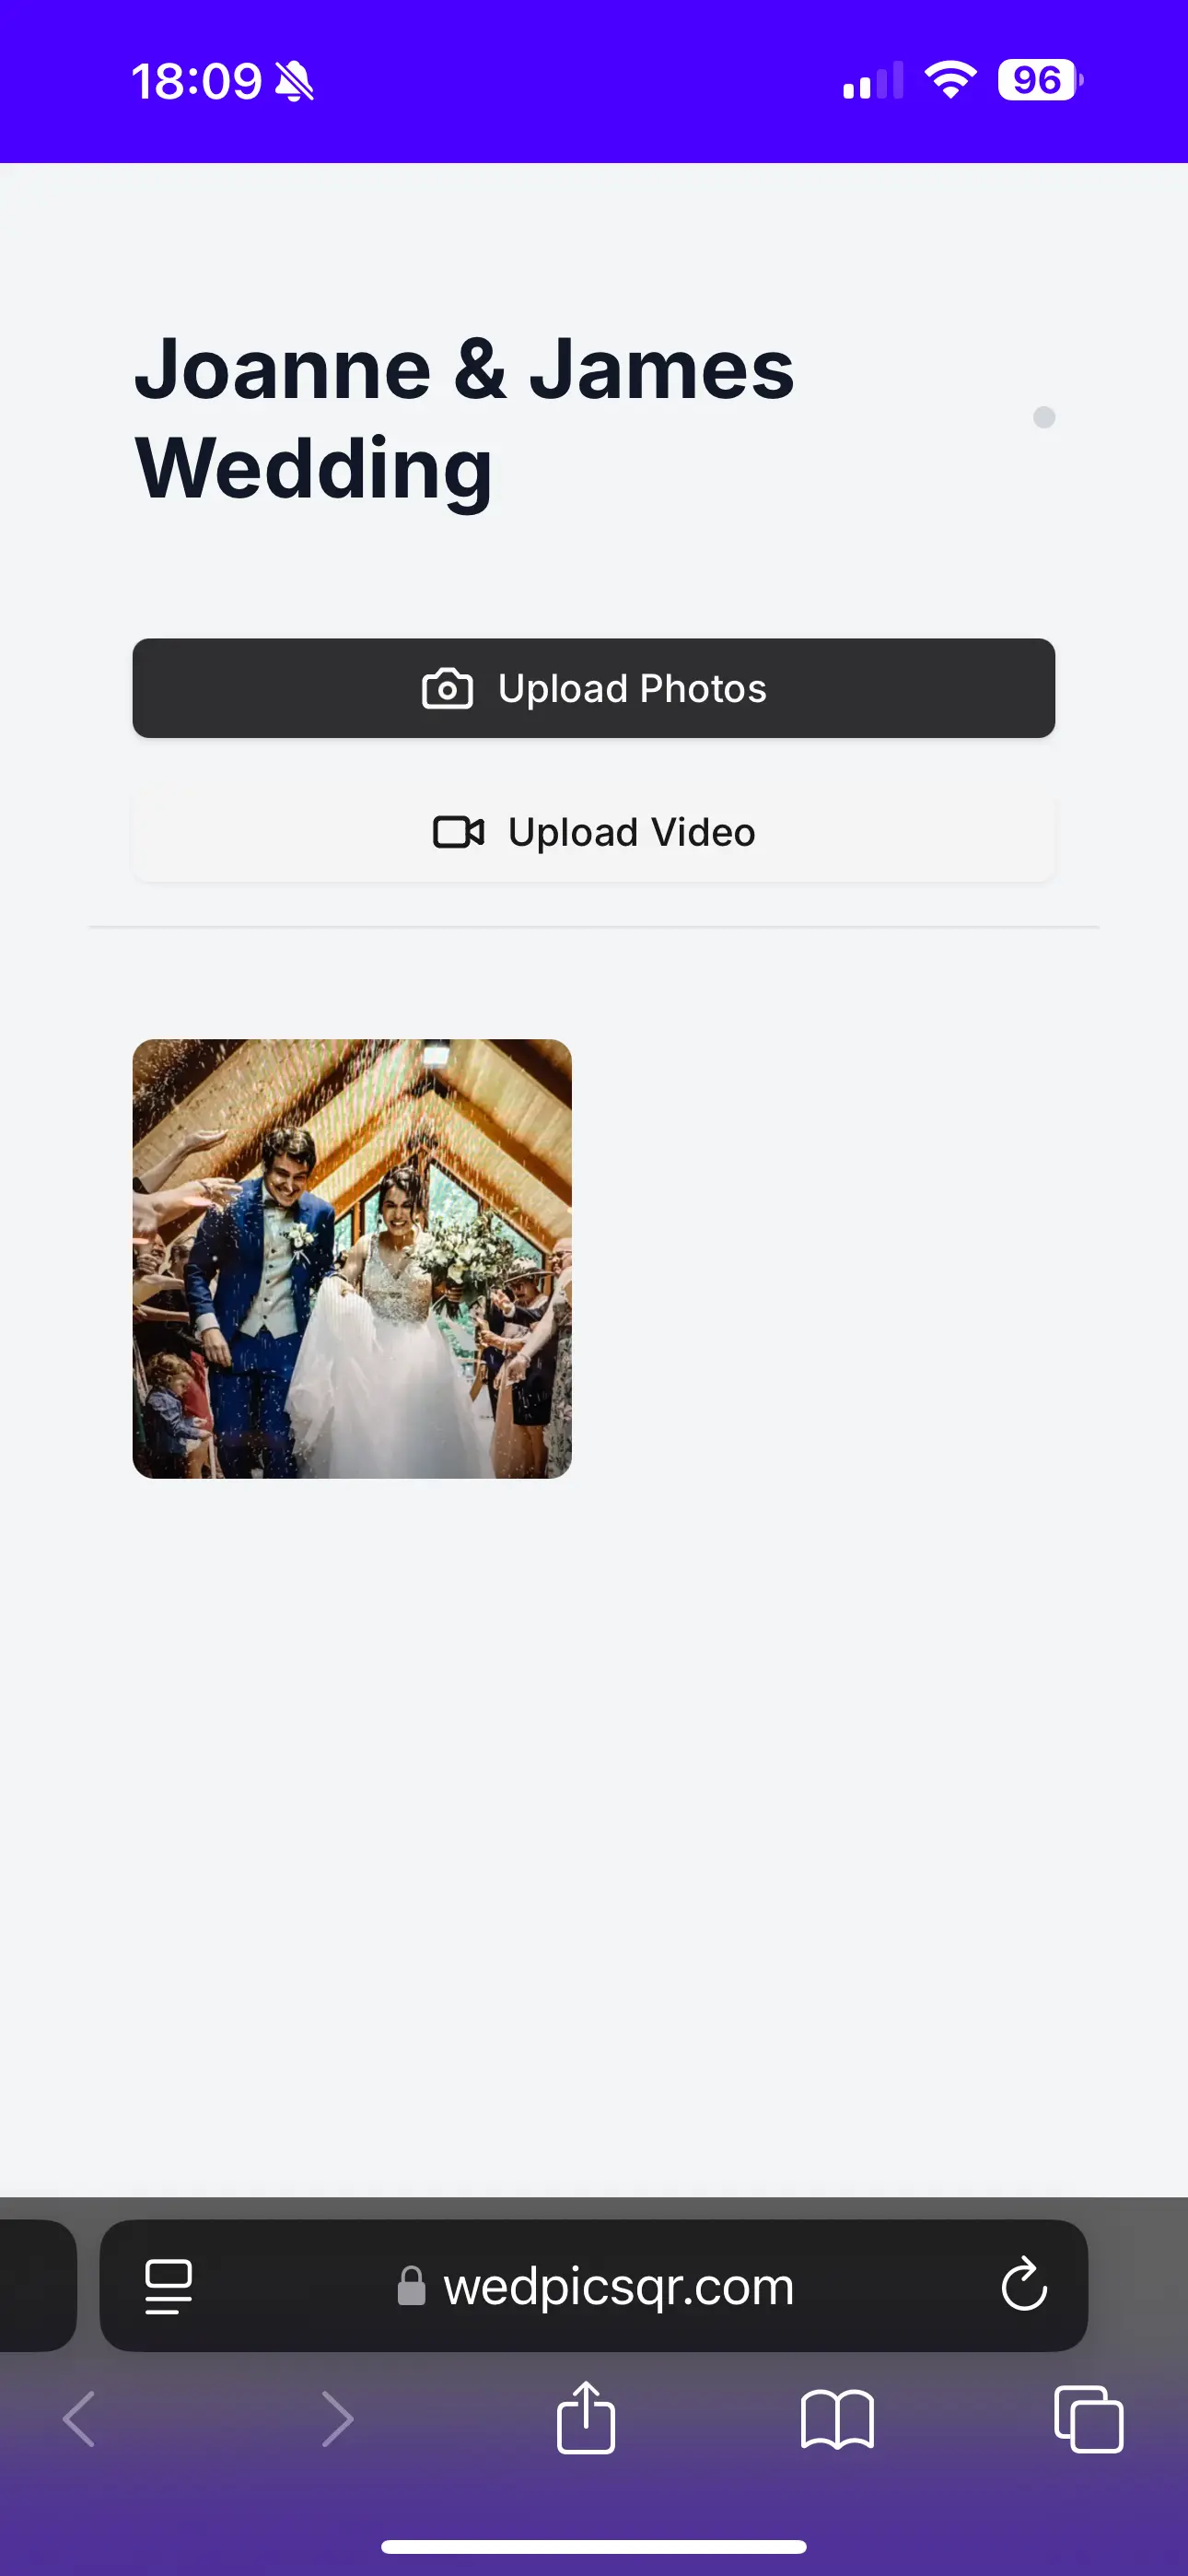
Guest page after the first photo uploaded.
3. Customizing Your Page
Now that your page is created and you uploaded your first photo, let's make it look great for your guests!
In your management dashboard open your photo page and set the newly uploaded photos as the album cover by clicking the album icon underneath the photo you uploaded.
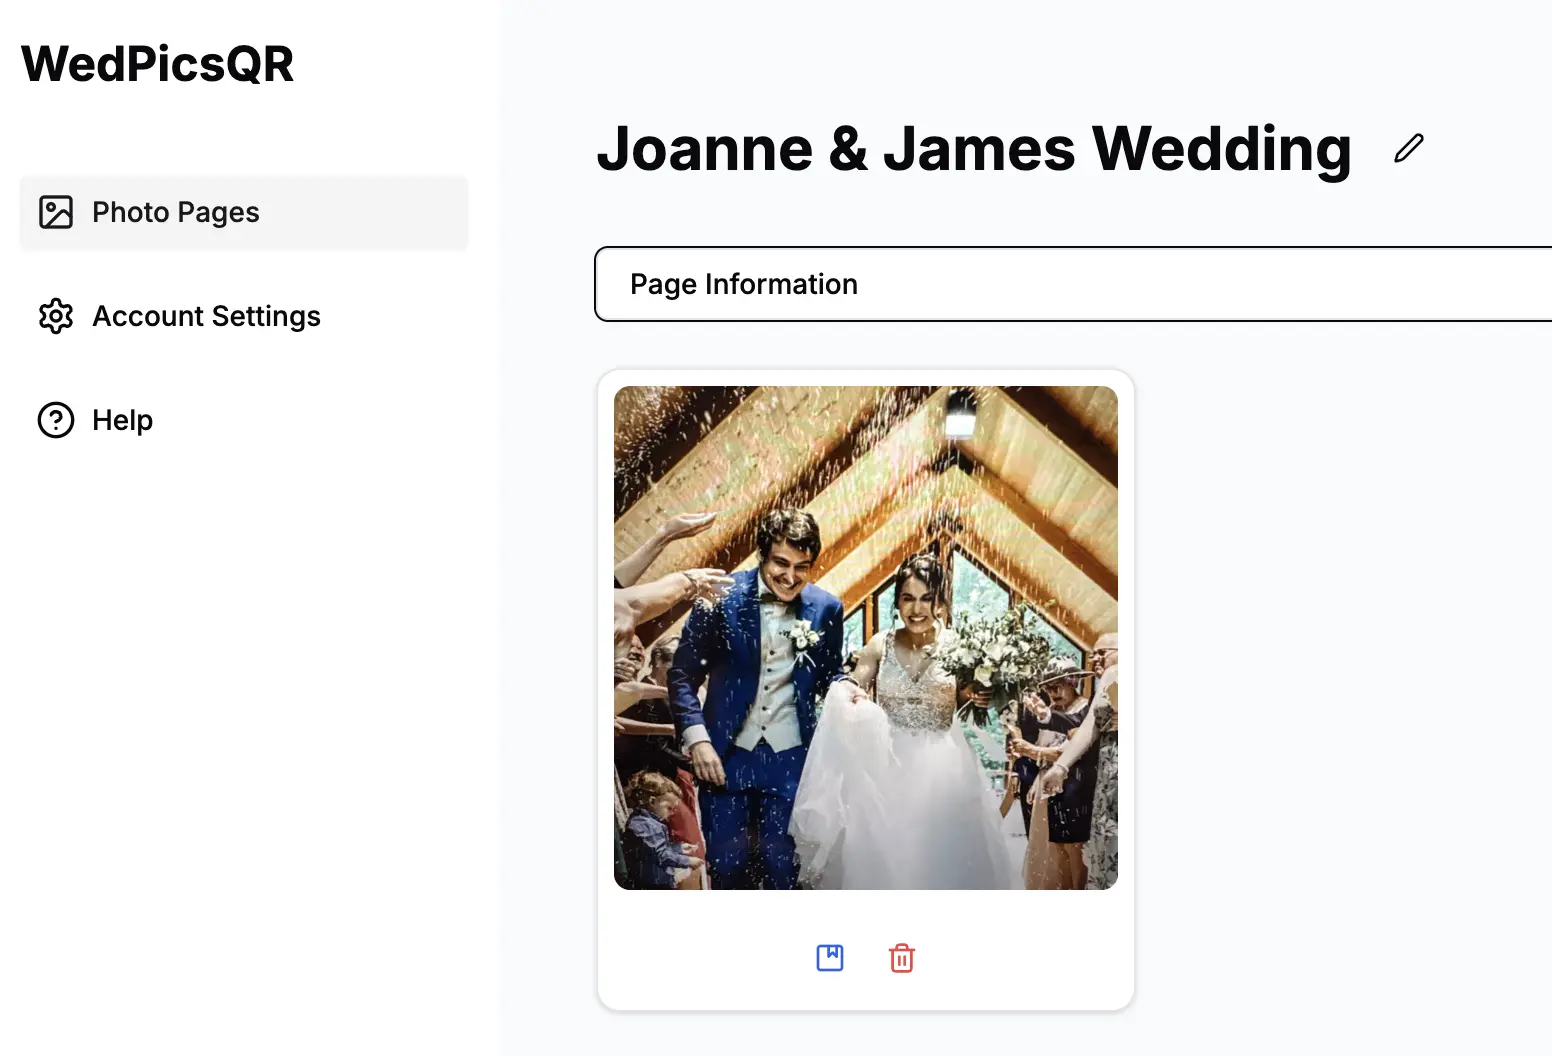
Select album cover for your photo page by clicking on the book icon at the bottom.
Once you selected the album cover the album for the guest will look like this:
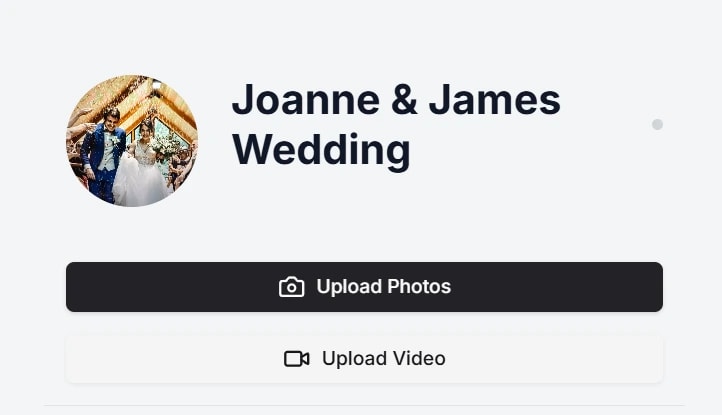
Showing the guest page with the album cover selected.
Further tasks to consider:
- Upload a cover photo that represents your event. Done.
- In the event details review the title, description and set the event date.
Sharing Options Explained
1. Using the QR Code
In the management page you can access the QR code or the sharing url in the Page Information section.
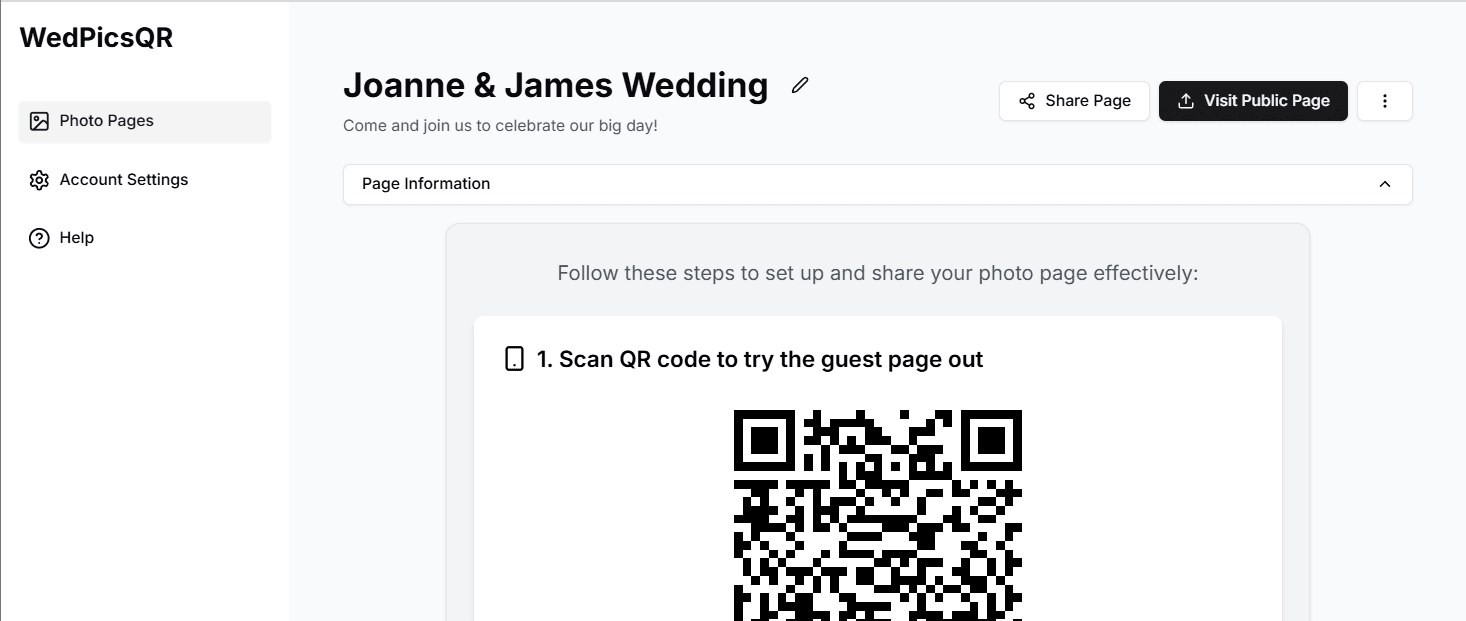
Access your page's QR code and sharing URL in the Page Information panel. Download the QR code to easily share with guests.
Your page comes with a unique QR code that guests can scan to instantly access your photo page. Here are a few ways to use it:
- You can download the image of the QR code and use it to design your invitation in a design tool like Canva.
- Download the pdf generated and print it out.
Further things to consider:
- Print your page's QR code on invitations
- Display your printed inviations at the guest tables
- Share digitally
- Add to the wedding website, if you got one.
2. Using the Direct URL

Find your photo page's unique sharing URL in the dashboard. Simply copy and share it with guests through any communication channel.
Every photo page has a unique URL that you can share with guests:
- Copy the URL from your dashboard
- Share via text messages
- Send through email
- Post on social media
- Add to digital invitations
Making the Most of Your Page
A little preparation for your wedding will make the whole sharing experience a lot smoother and you will be able to get more photos from your guests. Taking a few simple steps beforehand will help guests easily understand how to contribute photos their photos. Here are a few tips:
1. Pre-Event Tips
- Set up your page at least a week before the event
- Test with a small group of friends or family
- Prepare clear instructions for guests
- Create physical displays or cards if needed
2. During the Event
- Display instructions prominently
- Consider designating a photo coordinator
- Encourage guest participation
3. After the Event
- Monitor new uploads
- Moderate content as needed
- Download and backup photos
- Share the collection with guests
Pro Tips and Recommendations
- Start with a test upload
- Create clear instructions
- Monitor early uploads
- Use both sharing methods
Common Questions and Solutions
Q: What if guests can't access the page? A: Ensure they have the correct URL or QR code. Check your page privacy settings.
Q: How do I handle multiple sharing methods? A: Use both QR codes and URLs to maximize accessibility. Include clear instructions for both methods.
Q: What about upload issues? A: Verify internet connectivity and file size limits. Have a backup plan for collecting photos.
Remember to always test your sharing methods before the big day to ensure everything works smoothly!